How-to
Quickstart
Registration
Please register first with your email address and a password of your choice.
Optionally, you may register a key for a second authentication factor for extra security after registration (Smartphone, Yubikey, etc - see FAQ).
The storage of the email address only serves the following purposes (see data protection policy), for example, account verification, notification of results, password reset. In no case do we use your data to contact you by other than the described purposes, and in no case do we connect your data to other data sources or provide it to third parties, explicitly we do not connect your user account data to the access logfile from our website.
After you have registered and logged in, there are currently 3 tools to choose from: EagleImp-Web, HybridGWAIS and PIA-S/M.EagleImp-Web
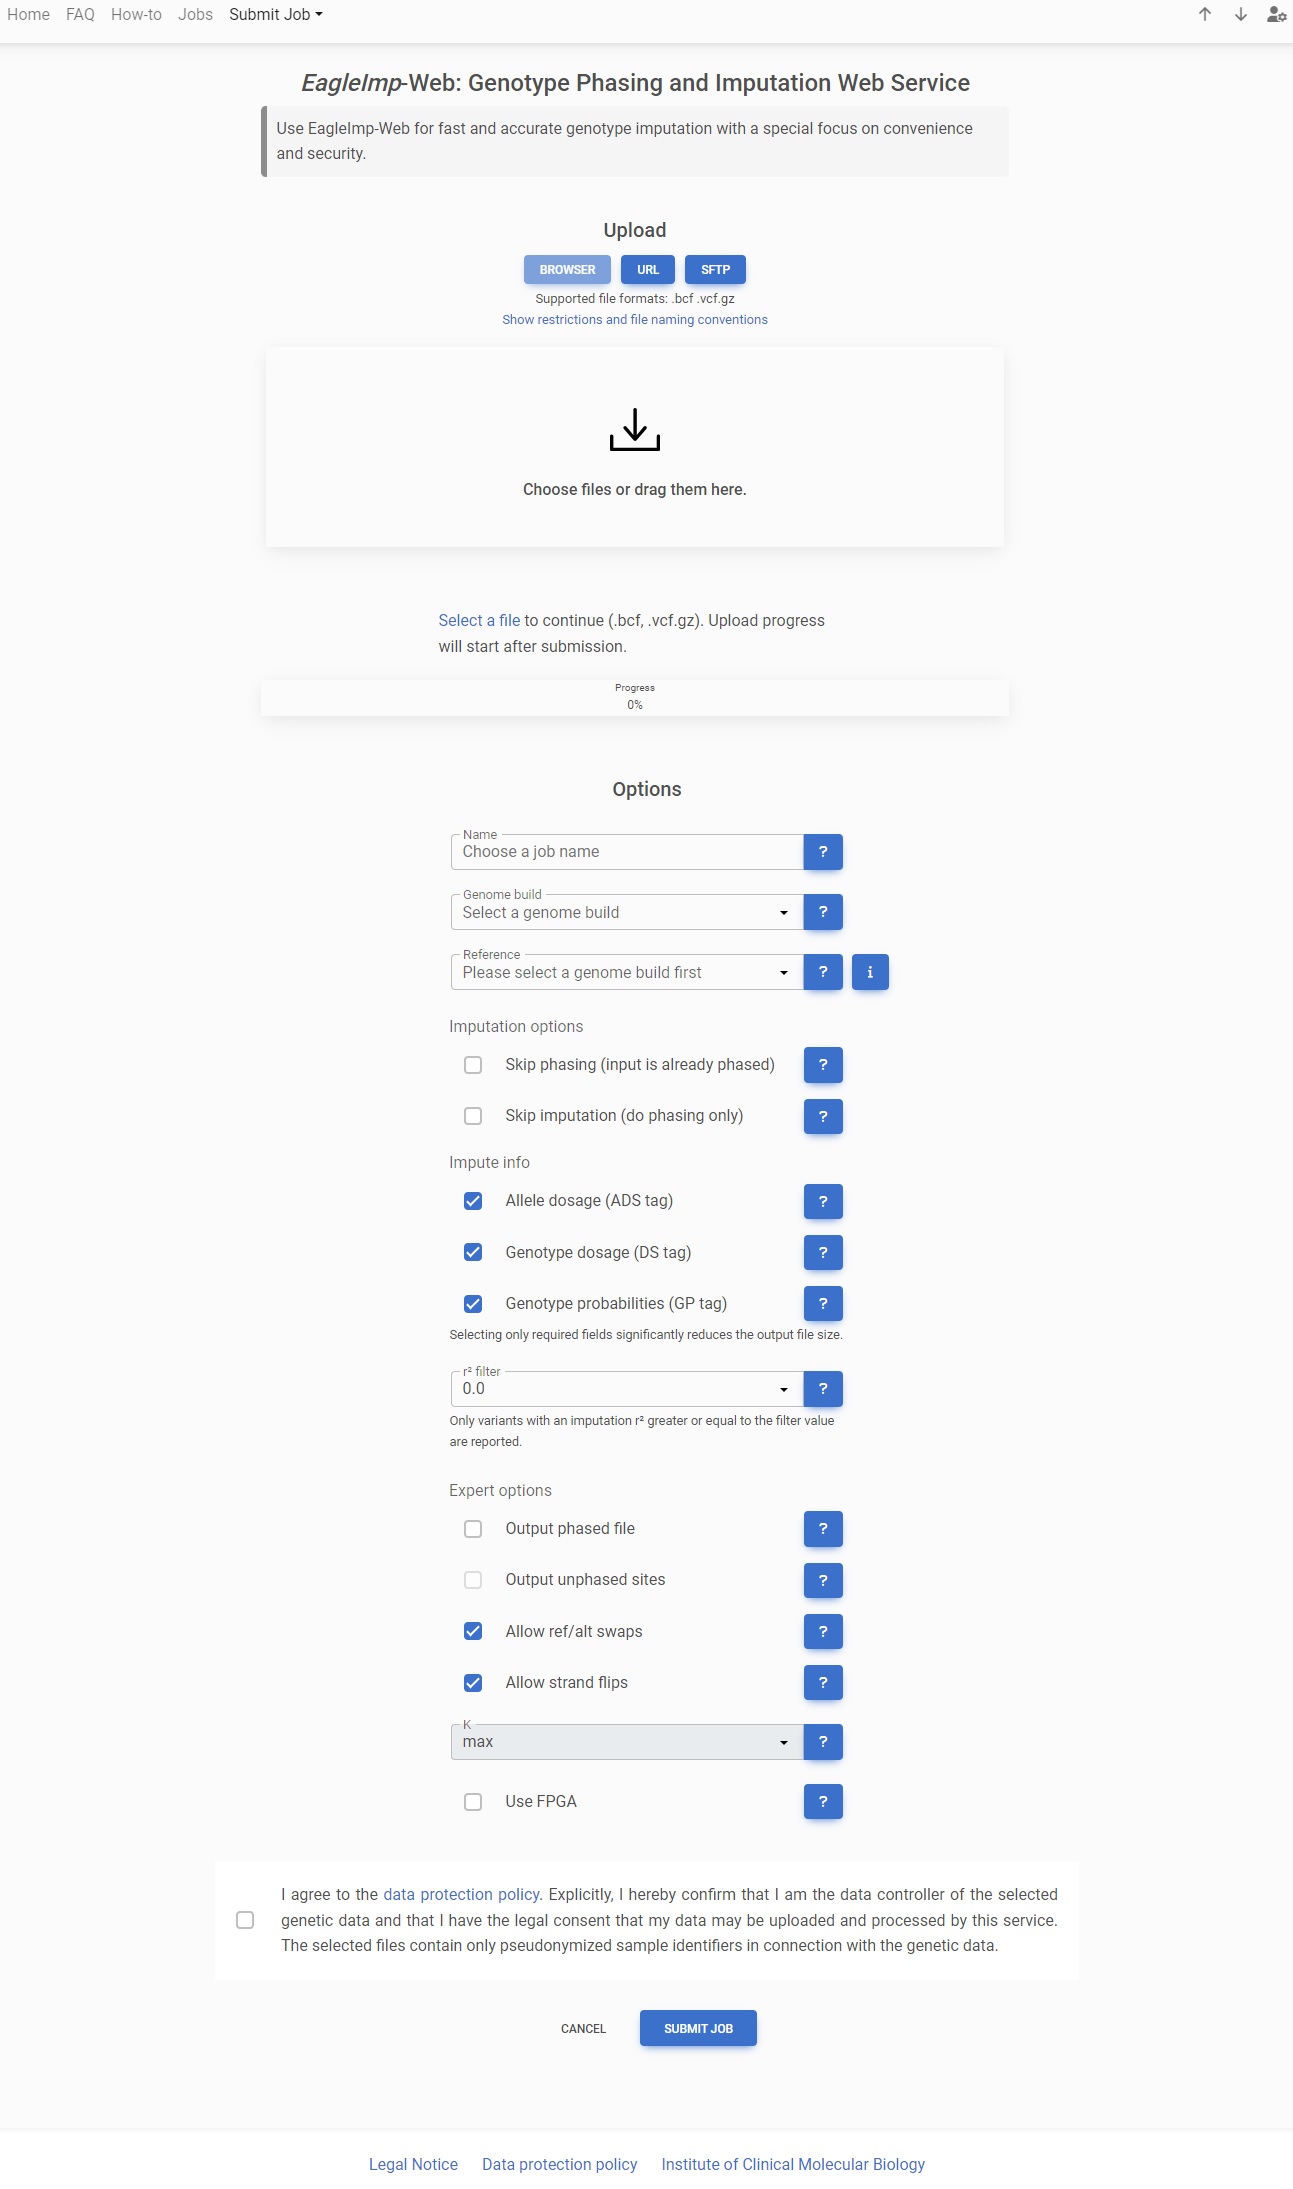
Genotype phasing and imputation for your GWAS study data is simple:
- Select your GWAS data in vcf.gz or bcf format from your hard drive for a client-side pre-check of the input format. This must include one file per chromosome (files for chromosomes 1 to 24 are allowed) in vcf.gz or bcf format. Instructions for preparing the vcf.gz or bcf files can be found here: https://imputationserver.readthedocs.io/en/latest/prepare-your-data/
- Select the desired options for phasing and/or imputation. Behind each selection field you find a question mark and/or an information symbol about the meaning of the selected option.
- Read our GDPR-compliant data protection policy and tick that you agree with our data policy. You can then start the phasing and/or imputation job. Do not leave the site until the data upload is complete! Once the calculation is completed, you will receive a notification email and see your results in the "Jobs" section.
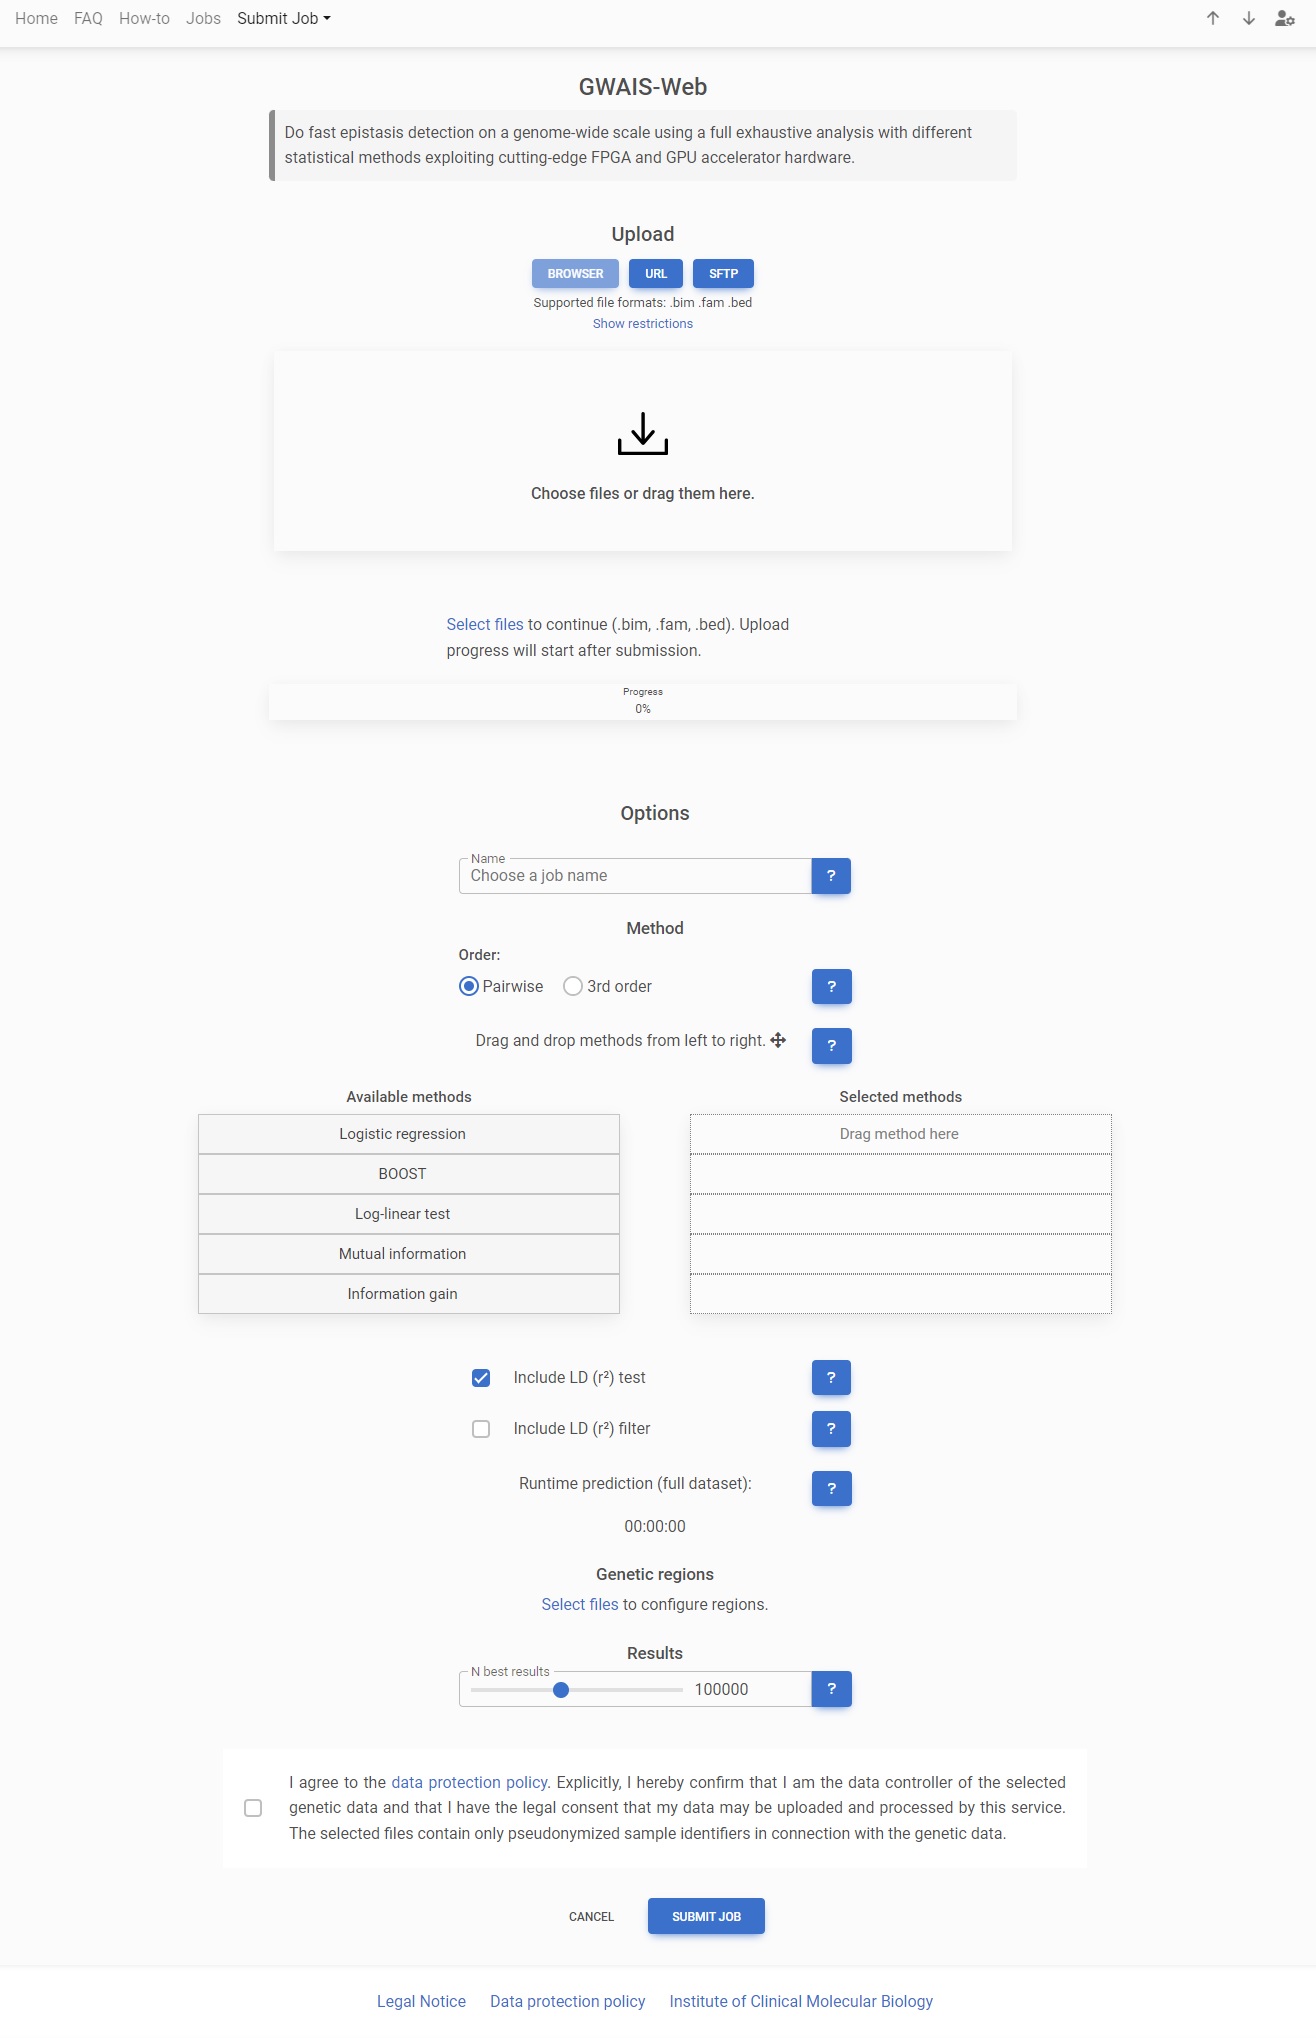
GWAIS-Web
Starting a GWAIS (genome-wide association interaction studies) job for epistasis detection is equally simple:
- Your case/control genotype data must be in PLINK’s bed/bim/fam format. Select the file triple on your hard drive and a pre-flight check is automatically executed.
- Select the desired options for your interaction test. Use the button with the question mark to get additional information about each option. It is mandatory to select at least one test method (e.g. logistic regression). You will immediately see a runtime estimation for your job.
- Read our GDPR-compliant data protection policy and tick that you agree with our data policy. You can then start the epistasis detection job. Do not leave the site until the data upload is complete! Once the calculation is completed, you will receive a notification email and see your results in the "Jobs" section.
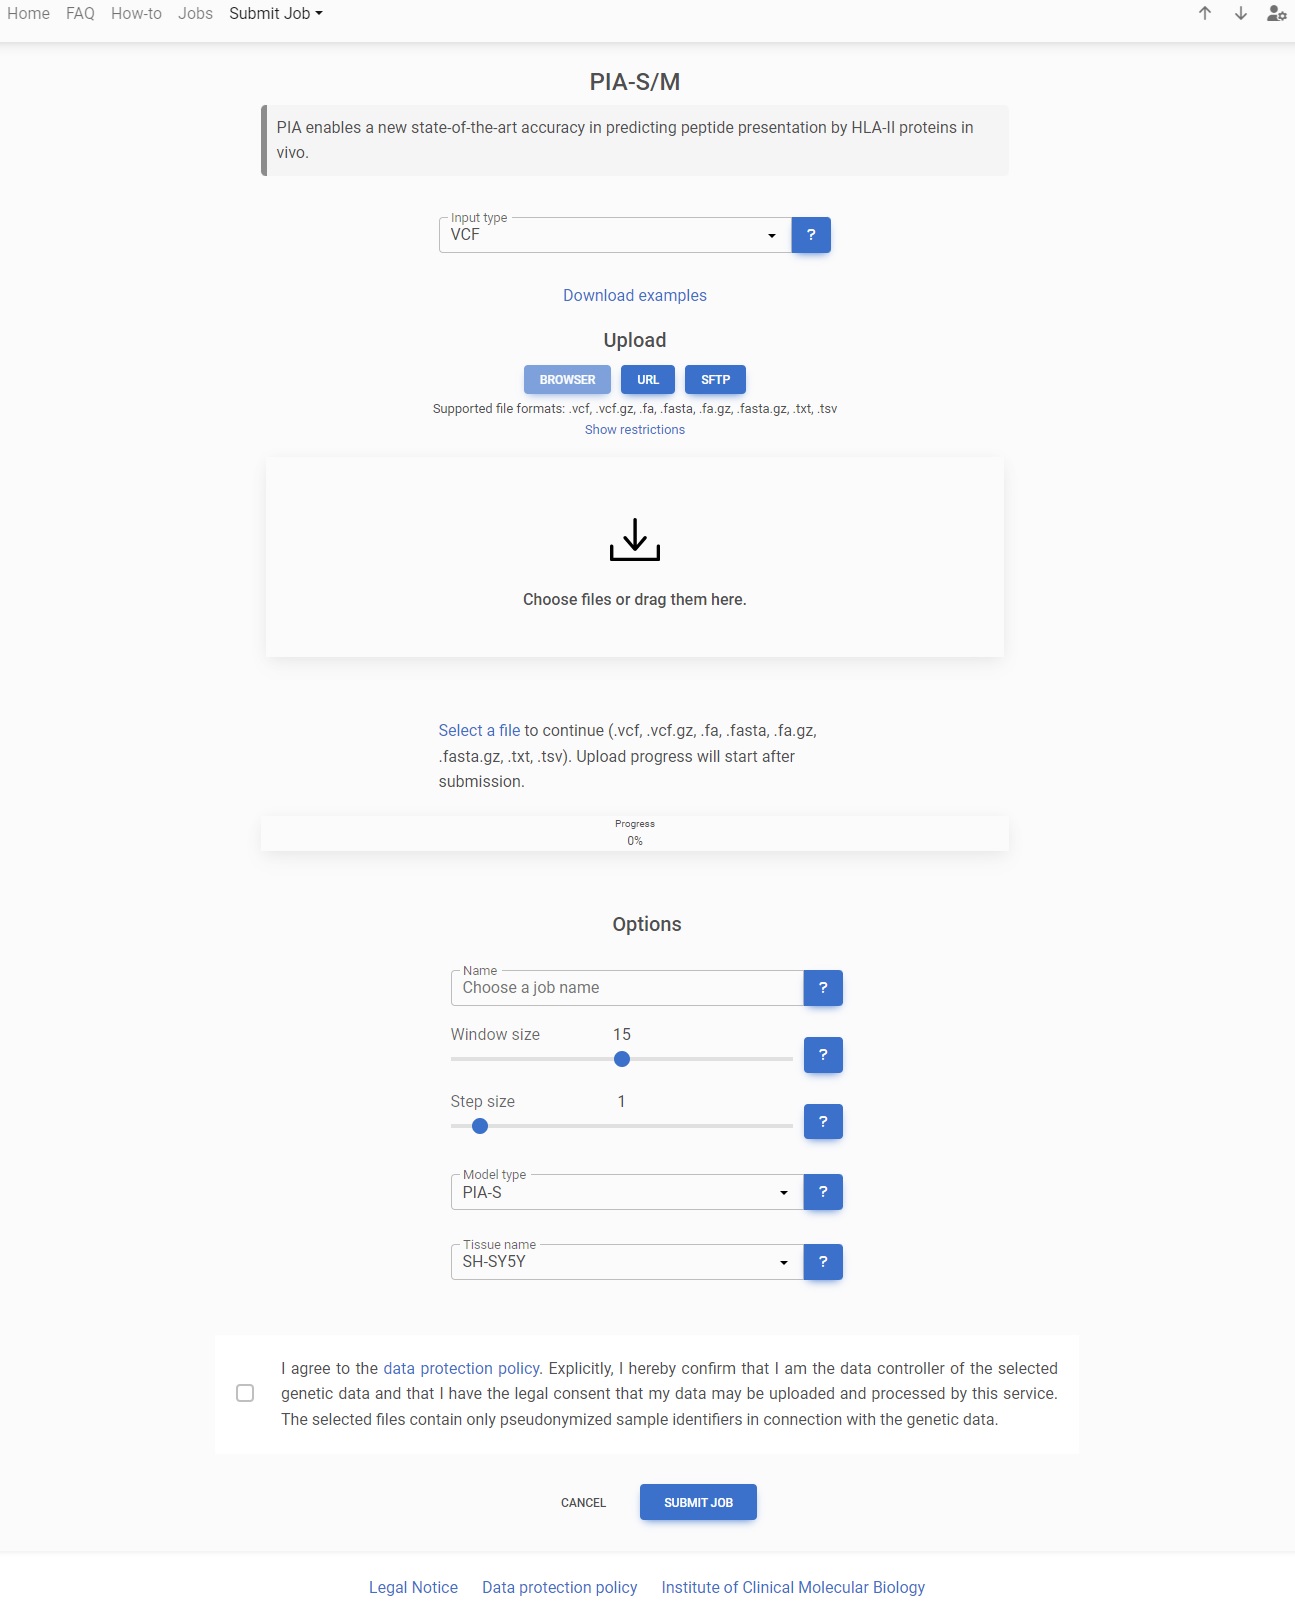
PIA-S/M
PIA enables a new state-of-the-art accuracy in predicting peptide presentation by HLA-II proteins in vivo.
- You can choose your input files from four different input types: VCF, Proteome, Genetic table, input table.
- Select PIA options and model type. Use the question mark for detailed information on each option.
- Read our GDPR-compliant data protection policy and tick that you agree with our data policy. Then start your PIA job. Do not leave the site until the data upload is complete! Once the calculation is completed, you will receive a notification email and see your results in the "Jobs" section.
2 Factor Authentication (2FA)
Our web service offers 2-factor authentication (2FA) for additional security to protect your account from unauthorized access.
Important note: Once you’ve activated 2FA it is not possible to login without your key anymore! And once you lose your key, you will be locked out of your account. It is therefore possible to register more than one key as a fallback to regain your account after one key is lost.
With these three easy steps you enable 2FA and register your passkey, smartphone or USB key dongle as additional security factor for your user login:
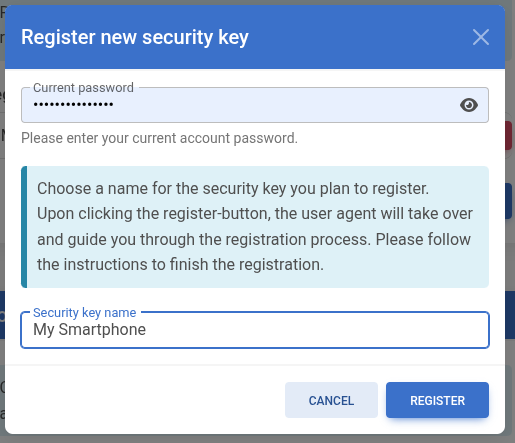
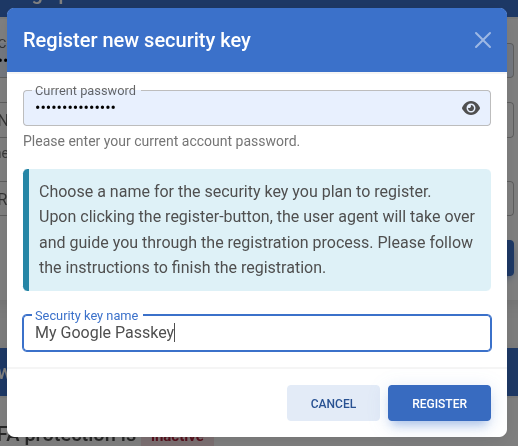
- After logging in, go to “Two-factor authentication” in the account settings and click on “Register new security key”. Then enter your login password and a name (identifier) for your new key and click on “Register”.
-
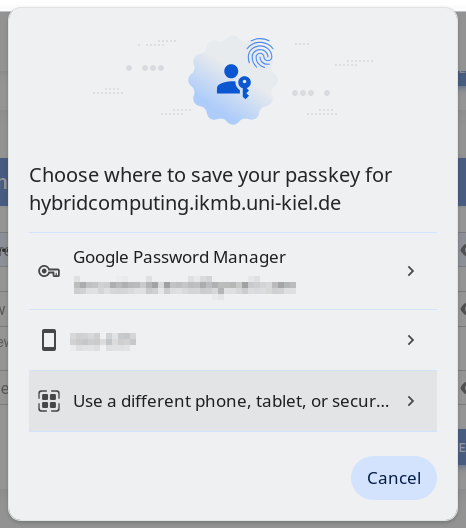
The browser will then guide you through the registration process. You decide whether to register a passkey, your smartphone or tablet, or a USB key dongle.
Note, that the Firefox browser does not support the WebAuthn API entirely yet. With Firefox you are only able to register a USB key dongle.
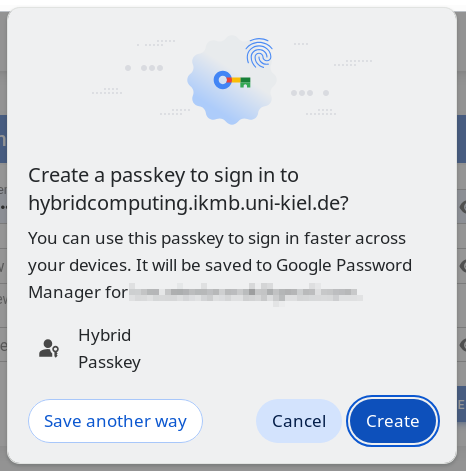
- If you want to generate a passkey, simply select the first available option (i.e. Google Password Manager in Chrome). You probably need to signin to Google or iCloud to be able to store your passkey in the Google Password Manager or iCloud Keychain.
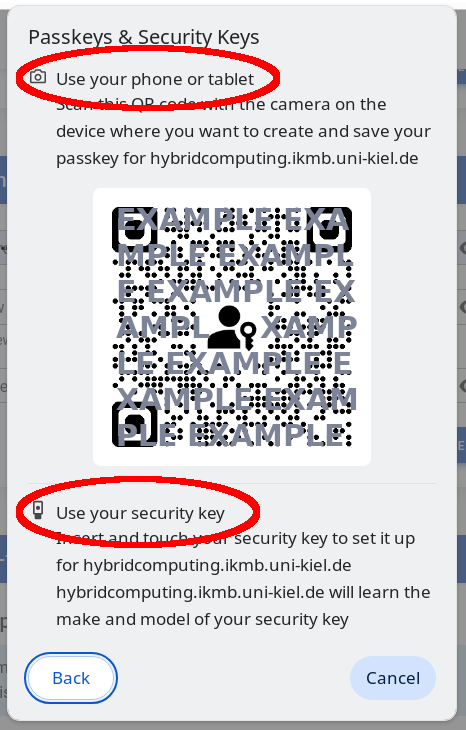
- If you want to register your smartphone, you need to scan a QR code to connect with your device and register your key.
- If you want to register a USB key dongle, you may additionally choose or have to enter an existing PIN and touch the contact zone.
- The 2FA key is now registered. Each time you want to login, you will be asked in addition to your password to either unlock your passkey (with a Google/iCloud signin, or with your smartphone or tablet), or to enter a PIN and touch the contact zone of your USB key dongle.
The images below show the registration of a passkey in the Chrome browser.
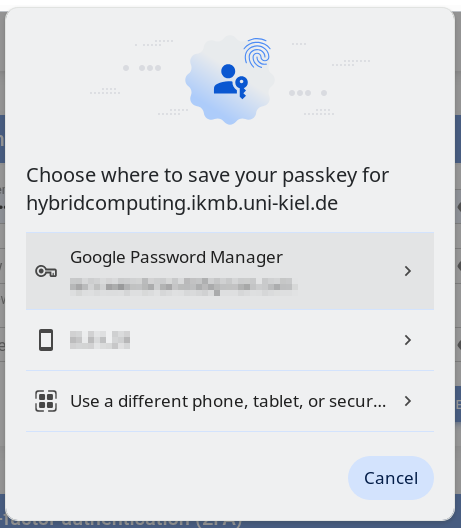
The images below show the registration of a smartphone or USB key dongle in the Chrome browser.